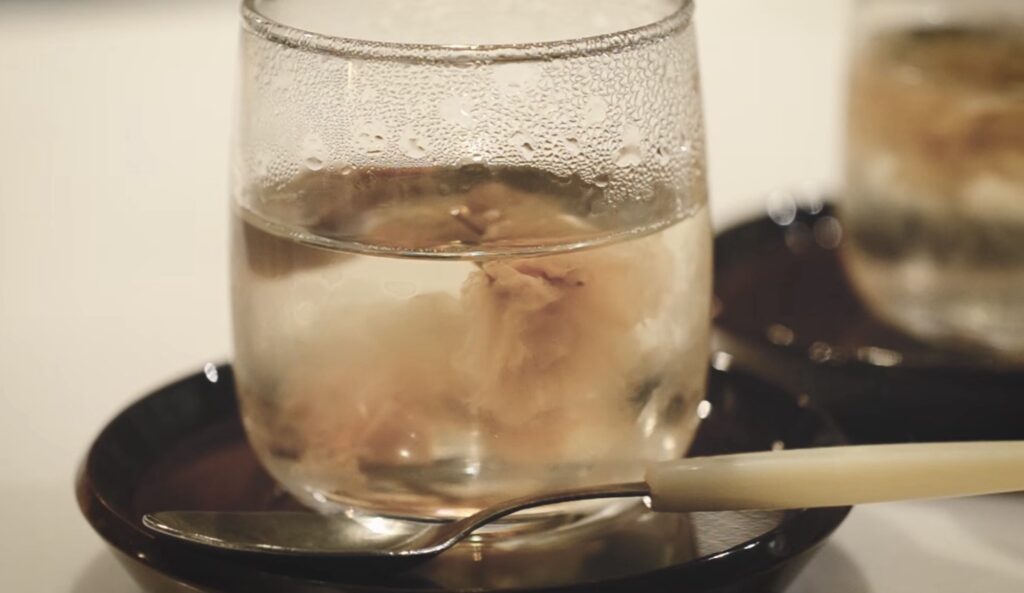
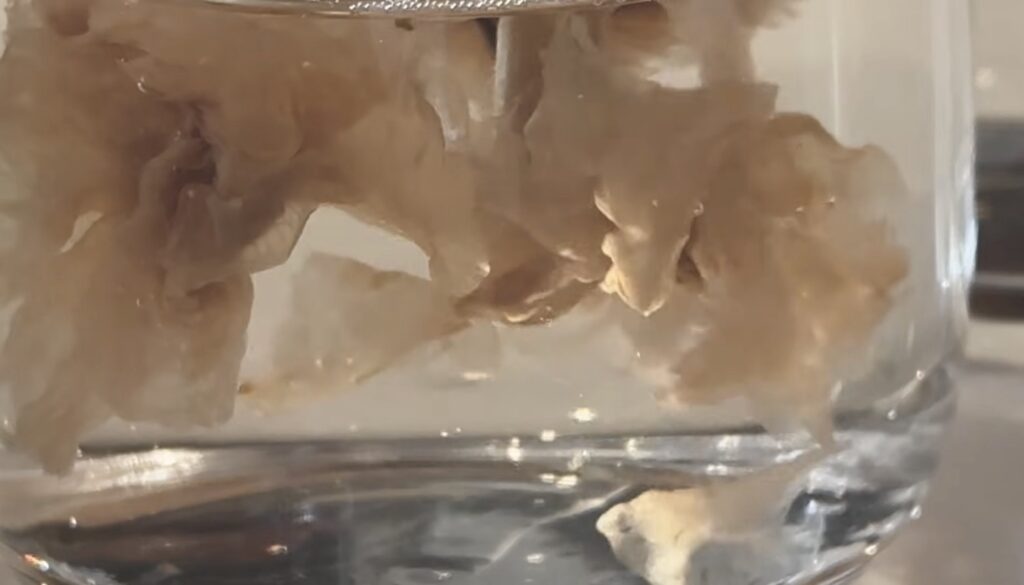
I made it on YouTubeHere is the menu recipe.
Please use this as a reference.
🌸 Sea bream rice with the scent of cherry blossoms (1.5 servings)
Careful preparation of the sea bream results in a refined flavor free of any unpleasant aftertaste.
[Material.
- Rice: 1.5 go
- Sea bream (fillet): 2 slices
- Salt-pickled cherry blossoms: 6 to 8 pieces (to your liking)
- seasoning:
- Alcohol: 1 and 1/2 tablespoons
- Salt: 1/2 teaspoon
- water: A suitable amount (up to the 1.5 cup mark)
[How to make it].
- Preparing sea bream
- Sprinkle salt (amount not specified) on the sea bream fillets,About 10 minutesI'll put it there.
- Wipe away any excess moisture that has risen to the surface with a paper towel. This will remove any fishy odor.
- Preparing for cherry blossoms
- Soak the salted cherry blossoms in water for about 5 minutes to remove some of the salt, then pat them dry.
- I set aside a few flowers for decoration, and the restChop it into small pieces.
- Grill the sea bream
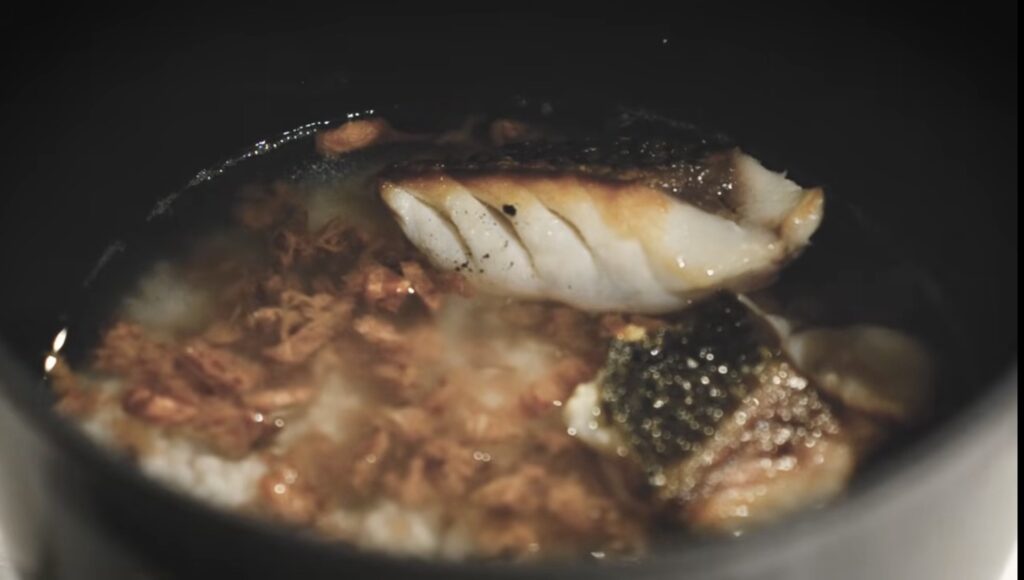
- Heat a frying pan over medium heat, and add the sea bream.From the skin sideLet's bake it.
- Grill until the skin is nicely browned, then flip it over and quickly sear the other side of the flesh.
- point: HereIt's okay if it's not cooked all the way through.By roasting the skin, a fragrant aroma is added, and the cooked dish won't have a fishy smell.
- Set in the rice cooker
- Put the rinsed and soaked rice into the rice cooker, and add sake (1.5 tablespoons) and salt (1/2 teaspoon).
- Add water up to the 1.5 cup mark and stir gently.
- In addition,Chopped pickled cherry blossomsScatter them, and finallyGrilled sea breamPlace it on top and cook the rice.
- Finishing
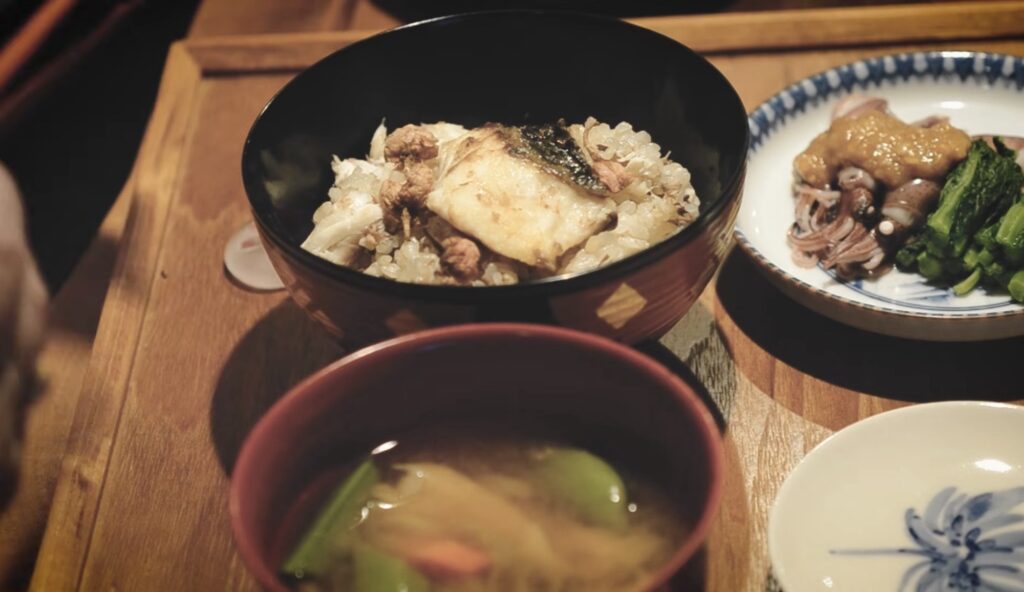
- Once cooked, remove the sea bream and flake the flesh while removing the bones.
- Return the flaked fish to the rice and mix gently so as not to let the cherry blossom aroma escape.
- Serve in a bowl, garnish with the cherry blossoms you set aside for decoration, and it's complete!
🌸 There's also a method where you don't cook the salted cherry blossoms with the rice, but instead mix them in after the sea bream rice is cooked. It's up to your preference!
🌸 Cherry blossom jelly (serves 2)
This recipe allows you to enjoy the bouncy texture and translucent beauty unique to agar.
The fluttering cherry blossom petals are also very beautiful.
[Material.
- Salt-pickled cherry blossoms: 6-8 wheels
- water: 200ml
- sugar: 30g
- Agar: 4g
[How to make it].
- Preparation (removing salt from cherry blossoms)
- Place the salted cherry blossoms in a bowl of water.About 10 minutesSoak it to remove the saltiness.
- Gently swish the flowers around in water using your fingertips, then spread out the petals for a more beautiful finish.
- Gently wipe away any excess moisture with a paper towel.
- Mix the agar and sugar together (important!).
- In a bowl or a dry small dish,Mix the agar (4g) and sugar (30g) thoroughly beforehand.
- *Since agar tends to clump if added directly to water, the trick is to mix it with sugar beforehand.
- Heat and melt
- Pour 200ml of water into a pot, and gradually sprinkle in the mixed agar and sugar, stirring well with a whisk or similar tool.
- Heat over medium heat, stirring constantly. Once it boils, reduce the heat to low and continue heating.1-2 minutesContinue to bring it to a gentle boil until it is completely dissolved.
- Chill and solidify
- Turn off the heat and let the jelly mixture cool slightly (be careful not to let it cool too much, as agar starts to solidify at 30-40°C).
- Pour the jelly mixture into the cups and prepareSalted cherry blossomsGently float it to the surface.
- Once it has cooled down, chill it in the refrigerator for 1-2 hours and it's ready!
⚠️ Precautions when using agar
- Always mix it with sugar before adding it to the water. Agar has high water absorption properties, and if added directly to water, only the surface hardens, easily forming clumps. Dispersing it with sugar particles allows it to dissolve smoothly.
- Bring to a boil and dissolve completely. Gelatin will not solidify when boiled, but agar will not.It won't completely melt or solidify unless it's brought to a boil (90°C or higher). The key is to continue heating it over low heat for about a minute after it comes to a boil.
- Work quickly Agar begins to solidify at room temperature (30-40°C). Once it solidifies, it is difficult to reheat and melt it in the microwave like gelatin, so transfer it to a container quickly while the liquid is still warm.
🌸I used agar this time because it gives a beautiful transparency.
The texture will be different, but you can also make it with gelatin or agar-agar.